Introduction
In this article, we discuss how ice climbing and freediving are related. We’ll also touch on why professional climbing systems can improve safety in freediving.
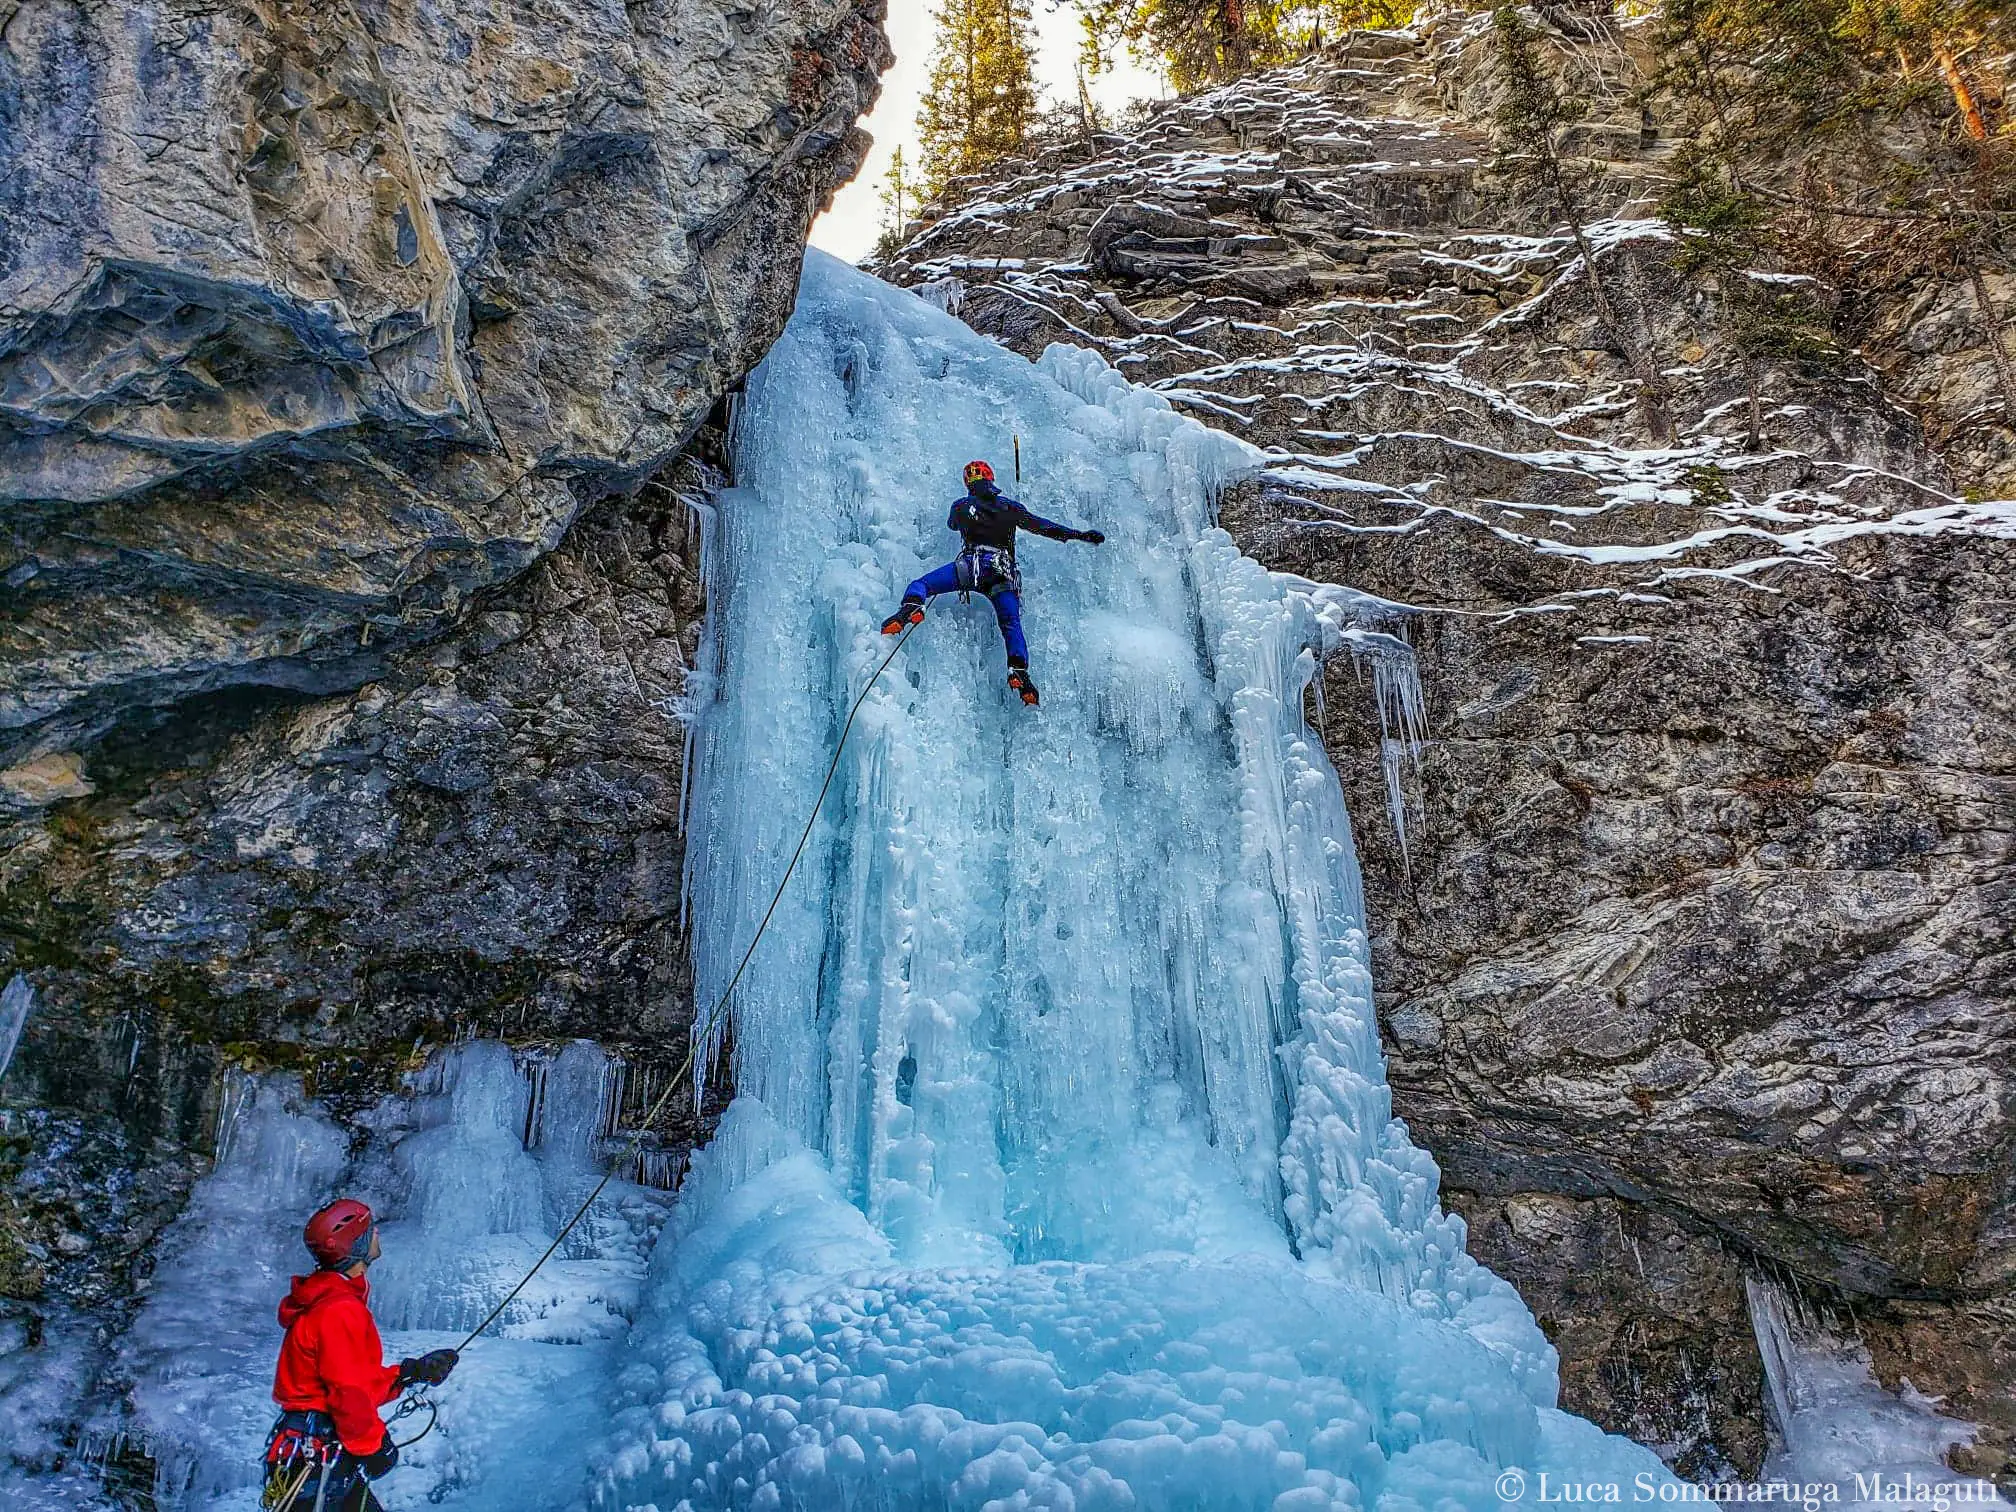
Tim Emmett is a world-renowned professional ice climber, mountaineer and coach. Sponsored by Mountain Hardwear, Petzl and Scarpa, he climbs some of the hardest ice and rock routes today.
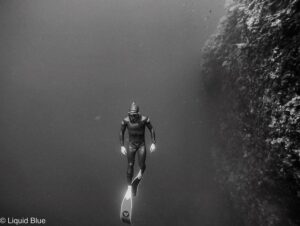
Tim also happens to be an excellent freediver, training with Sea to Sky Freediving in Vancouver, Canada. In his first training session, after a few pointers and tips, he dove down to 30 meters (100 feet) on one breath. This dive was performed in 10 – 12C degree water, with very little visibility and pitch black by 20 meters (65 feet).
Highlights of this Article:
- The psychological connection between climbing and freediving.
- How your breathing is in control, and you control your breathing.
- Avoiding accidents in freediving through climbing systems.
- The SERENE checklist used in multi-pitch ice and rock climbing.
- Learning a few essential knots and hitches from climbing.
Reading Time: 8 minutes
What the heck does ice climbing have in common with freediving?
About climbing
In climbing, a “leader” is the person climbing first and adding the protection along the way. Now, in rock climbing this is far safer since falling allows you to rely (most often) on solid pieces of protection braced into the rock.
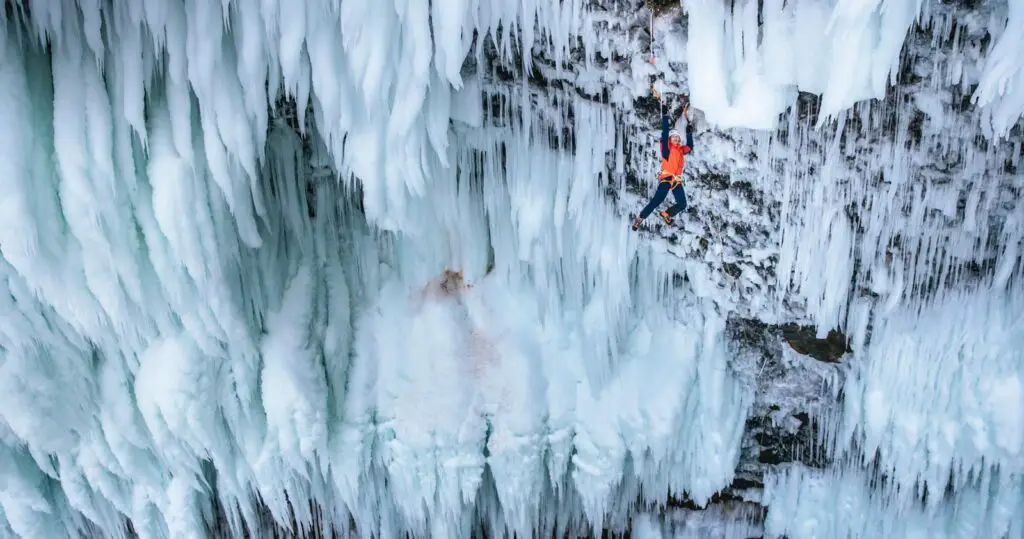
In ice climbing, falling as the leader can have massive consequences. If lucky, you’ll “walk” away with simply a compound femur fracture. Ice climbing is has much a game of the mind, as it is of the body. Controlling your breathing pattern can ultimately dictate the success or failure of the climb.
Mind over body
This is the fascination between ice climbing and freediving. In ice climbing, as the leader, you’re executing moves and positions that build up a massive amount of lactate in the body. Your heart rate can rise quickly, and you can easily find yourself hyperventilating in panic.
Controlling the breath, visualizing successful movements and maintaining a narrow-focus on your target will dictate the outcome.
You can induce bradycardia (lowering of the heart rate) through your breathing, change the blood chemistry, tweak your Central Nervous System (CNS) and modify your relaxation state. All through the breath.
Freedivers, sounds familiar? Of course, we know about the Mammalian Dive Response quite well. There’s certain situations where “losing control” can be very bad in both ice climbing and freediving.
Different environments, similar outcomes
“When climbing gets serious it’s crucial to stay calm to increase your chances of resolving the situation. When you panic, you start making mistakes and this often makes the situation worse. Freediving seems very similar in the way that being relaxed increases your performance, controlling the mind when it gets scary is the way to go.
Tim Emmett, professional climber and freediver.
Deep cramps
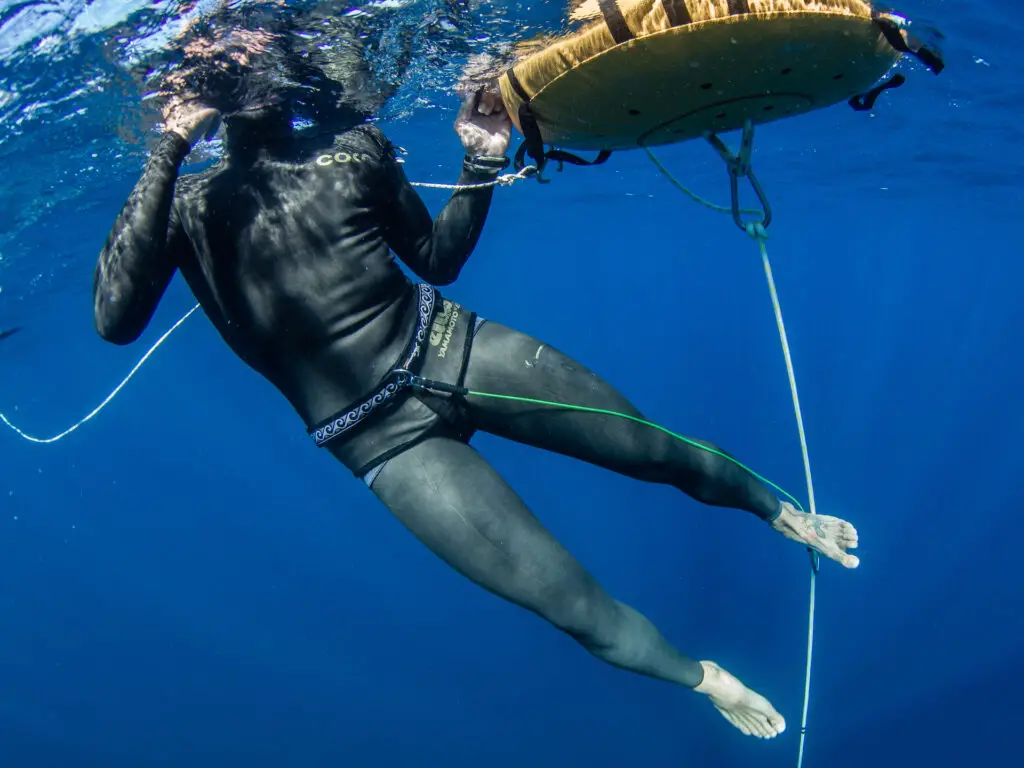
I’ve had a massive leg cramp at 55 meters (180 feet). Now in retrospect, I should’ve aborted that CWT-B (bi-finning) dive and pulled myself up via FIM (free immersion). I flutter kicked (with garbage technique) all the way back to the surface and only had a minor blackout after removing my mask. As planned, Jon and Jimmy, two top-notch freedivers, where there to assist.
What saved me? Counting with great focus my flutter kicks back to the surface. I kept the mind busy with measurable and manageable tasks in an otherwise uncomfortable situation.

Cramps way up there
I’ve also had massive cramps while ice climbing. Moreover, in ice climbing you get the famous “screaming barfies”. This is where the blood shunts from the hands and arms (i.e. peripheral vasoconstriction and gravity working together) only to flow back later when you lower your arms. It’s very painful, hence you want to “scream” and “barf” at the same time.
In both situations, controlling the mind with simple and positive tasks, while visualizing the outcome you want can be very important. In ice climbing, controlling your breath to ensure you’re taking long and deep diaphragmatic breaths will also be greatly beneficial.
The longer and deeper the breaths, the more oxygen you can get per breathing cycle, which in turn means more oxygen metabolized. Thus, this will improve blood oxygenation, blood flow and ultimately thought processing/critical thinking.
Can the SERENE system make us safer?
The SERENE checklist is a quick checklist used in climbing to ensure safety via an “inspection” of the equipment you plan to rely your life on. This checklist, and appropriate acronym, forces you to avoid complacency and reduce the likelihood of an accident.
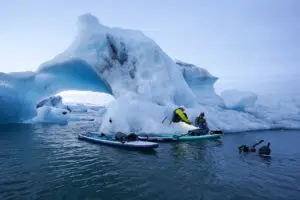
Note that other acronyms like EARNEST and STRAPS are also used. This applies to freediving since doing a safety check of your buoy equipment and gear prior to deep diving is highly recommended!
The acronym and safety check goes as follows:
- S for Strong: Check your carabiners strength (load bearing strength), maximum allowable load of your line and the stitching or connection points to the buoy. Ensure all the materials you are using are (ideally) marine or climbing grade. Inspect for corrosion, rust or deterioration over time.
- E for Efficient:Learn your knots and hitches (see below) in advance. Practice at home in the dark while wearing gloves. Don’t wait until a difficult scenario (i.e. waves and poo weather) to practice your knots and hitches. Know your system, practice setting it up quickly.
- R for Redundant: Super important. Don’t ever rely on one point or carabiner to attached the line. If you use a ratchet system (i.e. Octopus Pulley) don’t trust this entirely. It can slip based on rope thickness, sheath material, etc. Back up your “master point”, have redundancy in your “system”. In simple terms, tie off the rope to a secondary point on the buoy. Better yet, bring a back-up buoy while deep freediving.
- E for Equalized: Not really important for Freediving, mostly for climbing anchors. However, we can think of this as having a “symmetric system”.
- NE for Not Extendable: Shock-loading! Try to avoid it. Now, of course the forces generated while freediving are nowhere near those of climbing, but this is still a good habit to adopt. In other words, don’t drop a 15 kilogram weight directly down and let it “shock-load” your carabiner or ratchet system.
I recommend using this simple mental checklist while setting up your buoy equipment or gear. You should also use this if you’re going climbing, specifically multi-pitch rock or ice climbing.
Knots or hitches: what’s the difference?
This part doesn’t have to be hard. As mentioned above, it’s simply good practice to know a few basic knots and hitches really well.
What does “really well” mean?
Can you tie all your knots and hitches with thick neoprene gloves while blind-folded? There’s your test. Instructors, this is even more true for you. You must be able to assemble/disassemble a few hitches and knots quickly.
I’ll discuss two knots and one hitch in this article. Of course, there’s many others to learn and different techniques, just keep it easy and repeatable.
- Clove Hitch: Click here to view and learn this hitch.
- Easily undone even after being heavily loaded.
- Tightens the more you pull on either strand.
- Please note the clove hitch can “slip” under certain conditions.
- Water Bowline with Yosemite Finish: Click here to view and learn this knot.
- Super useful for tying off an anchor or bottom weight.
- Can be undone easily even after being heavily loaded.
- Can slip after repeated “cyclic loading”.
- Ensure enough “tail” is left at the end for Yosemite finish.
- Finish for additional friction and brings the line adjacent to main strand.
- Tie off with an additional fisherman’s knot the extra tail for security.
- Fisherman’s/Barrel Knot: Click here to view and learn this knot.
- Classic knot worth knowing.
- Tightens the more it’s loaded and thus hard to undo.
- Use only as a backup to Bowline + Yosemite Finish.
- Don’t use as main knot to tie off rope you wish to recover.
- Will “knot” come undone easily (pun intended).
Acknowledgements/References
- Tim in his “Deep Water Solo” climbing film in Halong Bay, Vietnam
- Watch Tim and Will climbing one of the hardest ice climbing routes at Helmcken Falls, Canada
- Louder than 11 videography and photography
- Animated Knots. Reference for all types of knots and hitches.
- Watch Alchemy Hellas’s film “Great North Freediving” about freediving the cold Canadian lakes.

Pingback: Travel Review: Freediving and Rock Climbing Dahab - Freedive Wire
Pingback: What an LMC (loss of motor control) really feels like after a freedive - Freedive Wire